
In this article:
- Creating a template
- Formatting your message
- Adding links
- Inserting dynamic values
- Previewing your template
- Using templates in reports
Creating a template
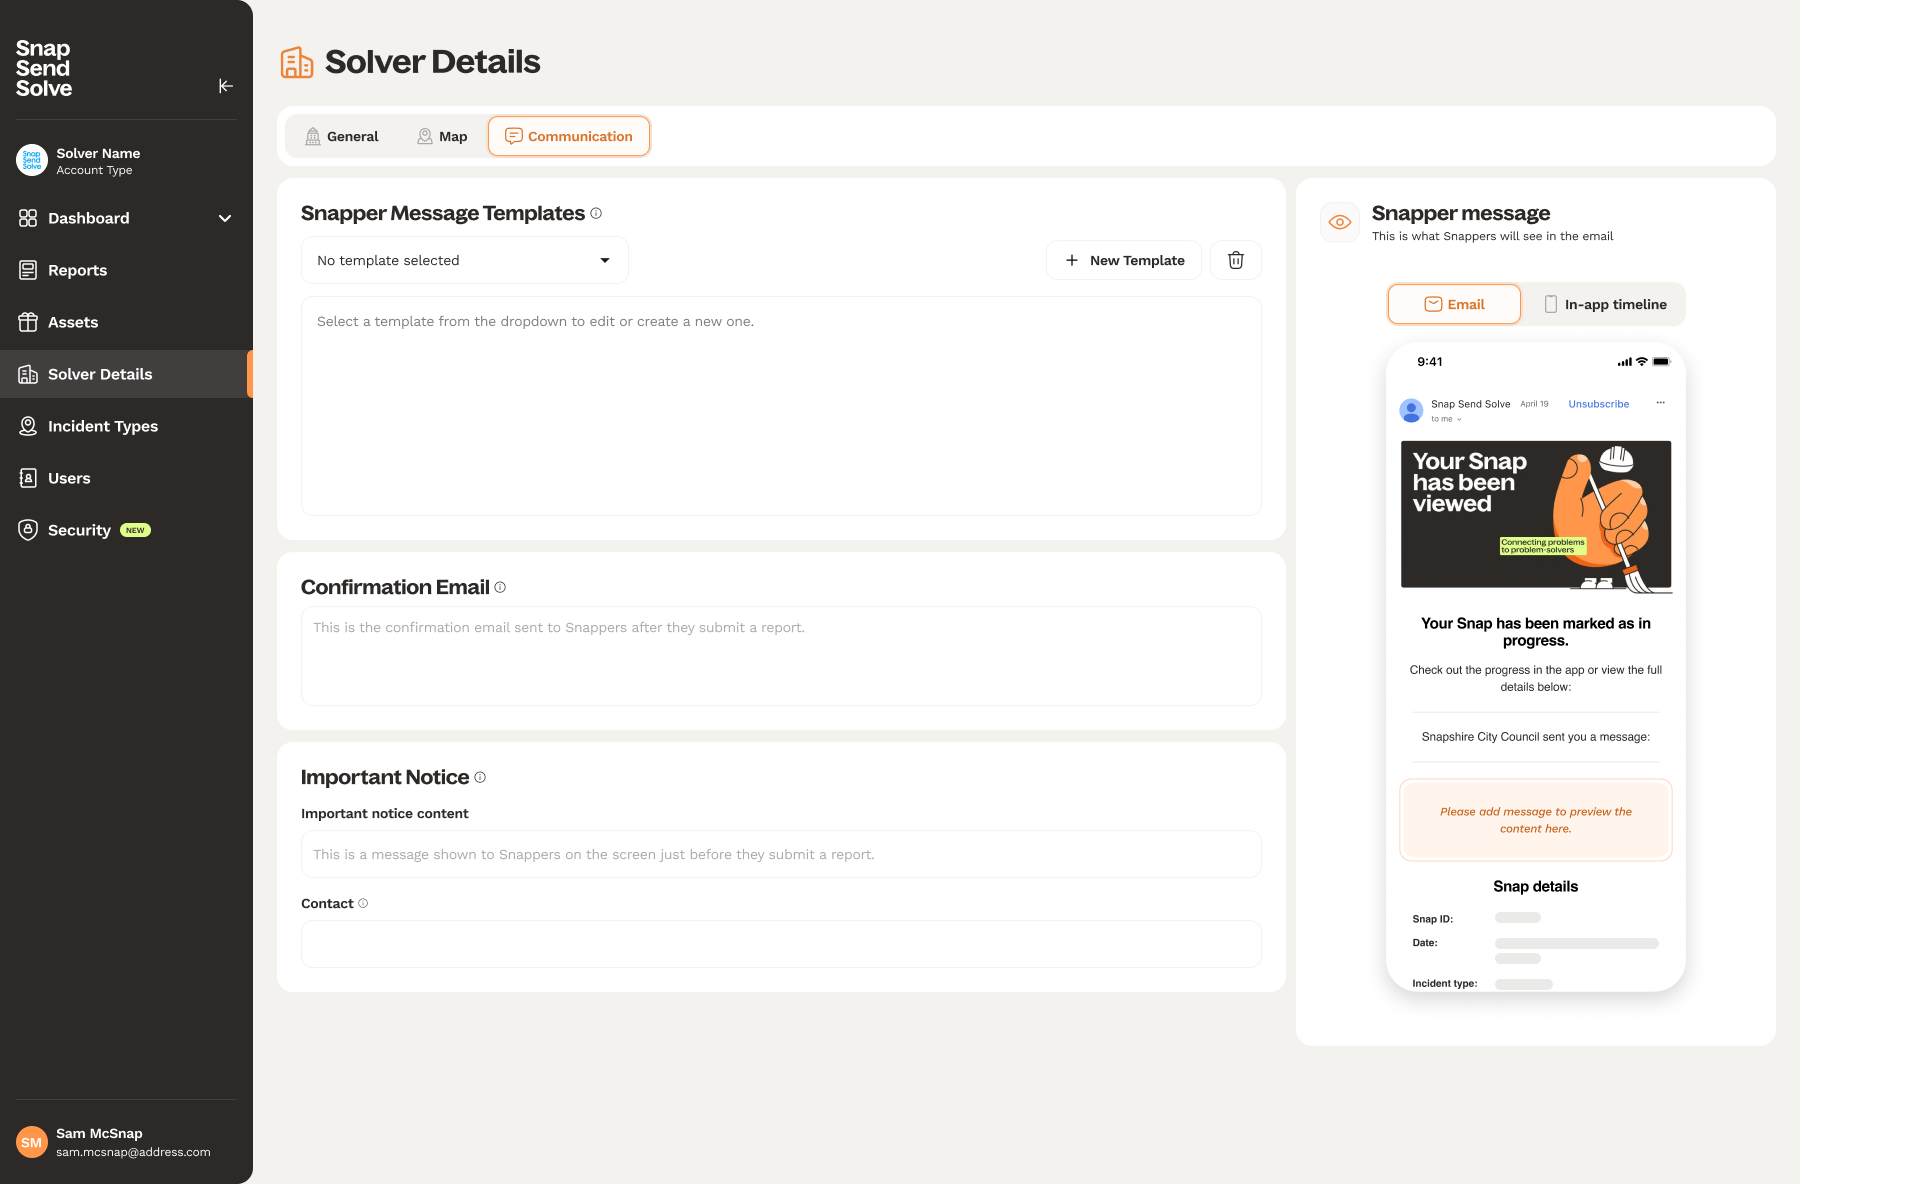
- Click Solver Details in the left menu, open the Communication tab and navigate to the Snapper Message Templates section.
- Click New Template.
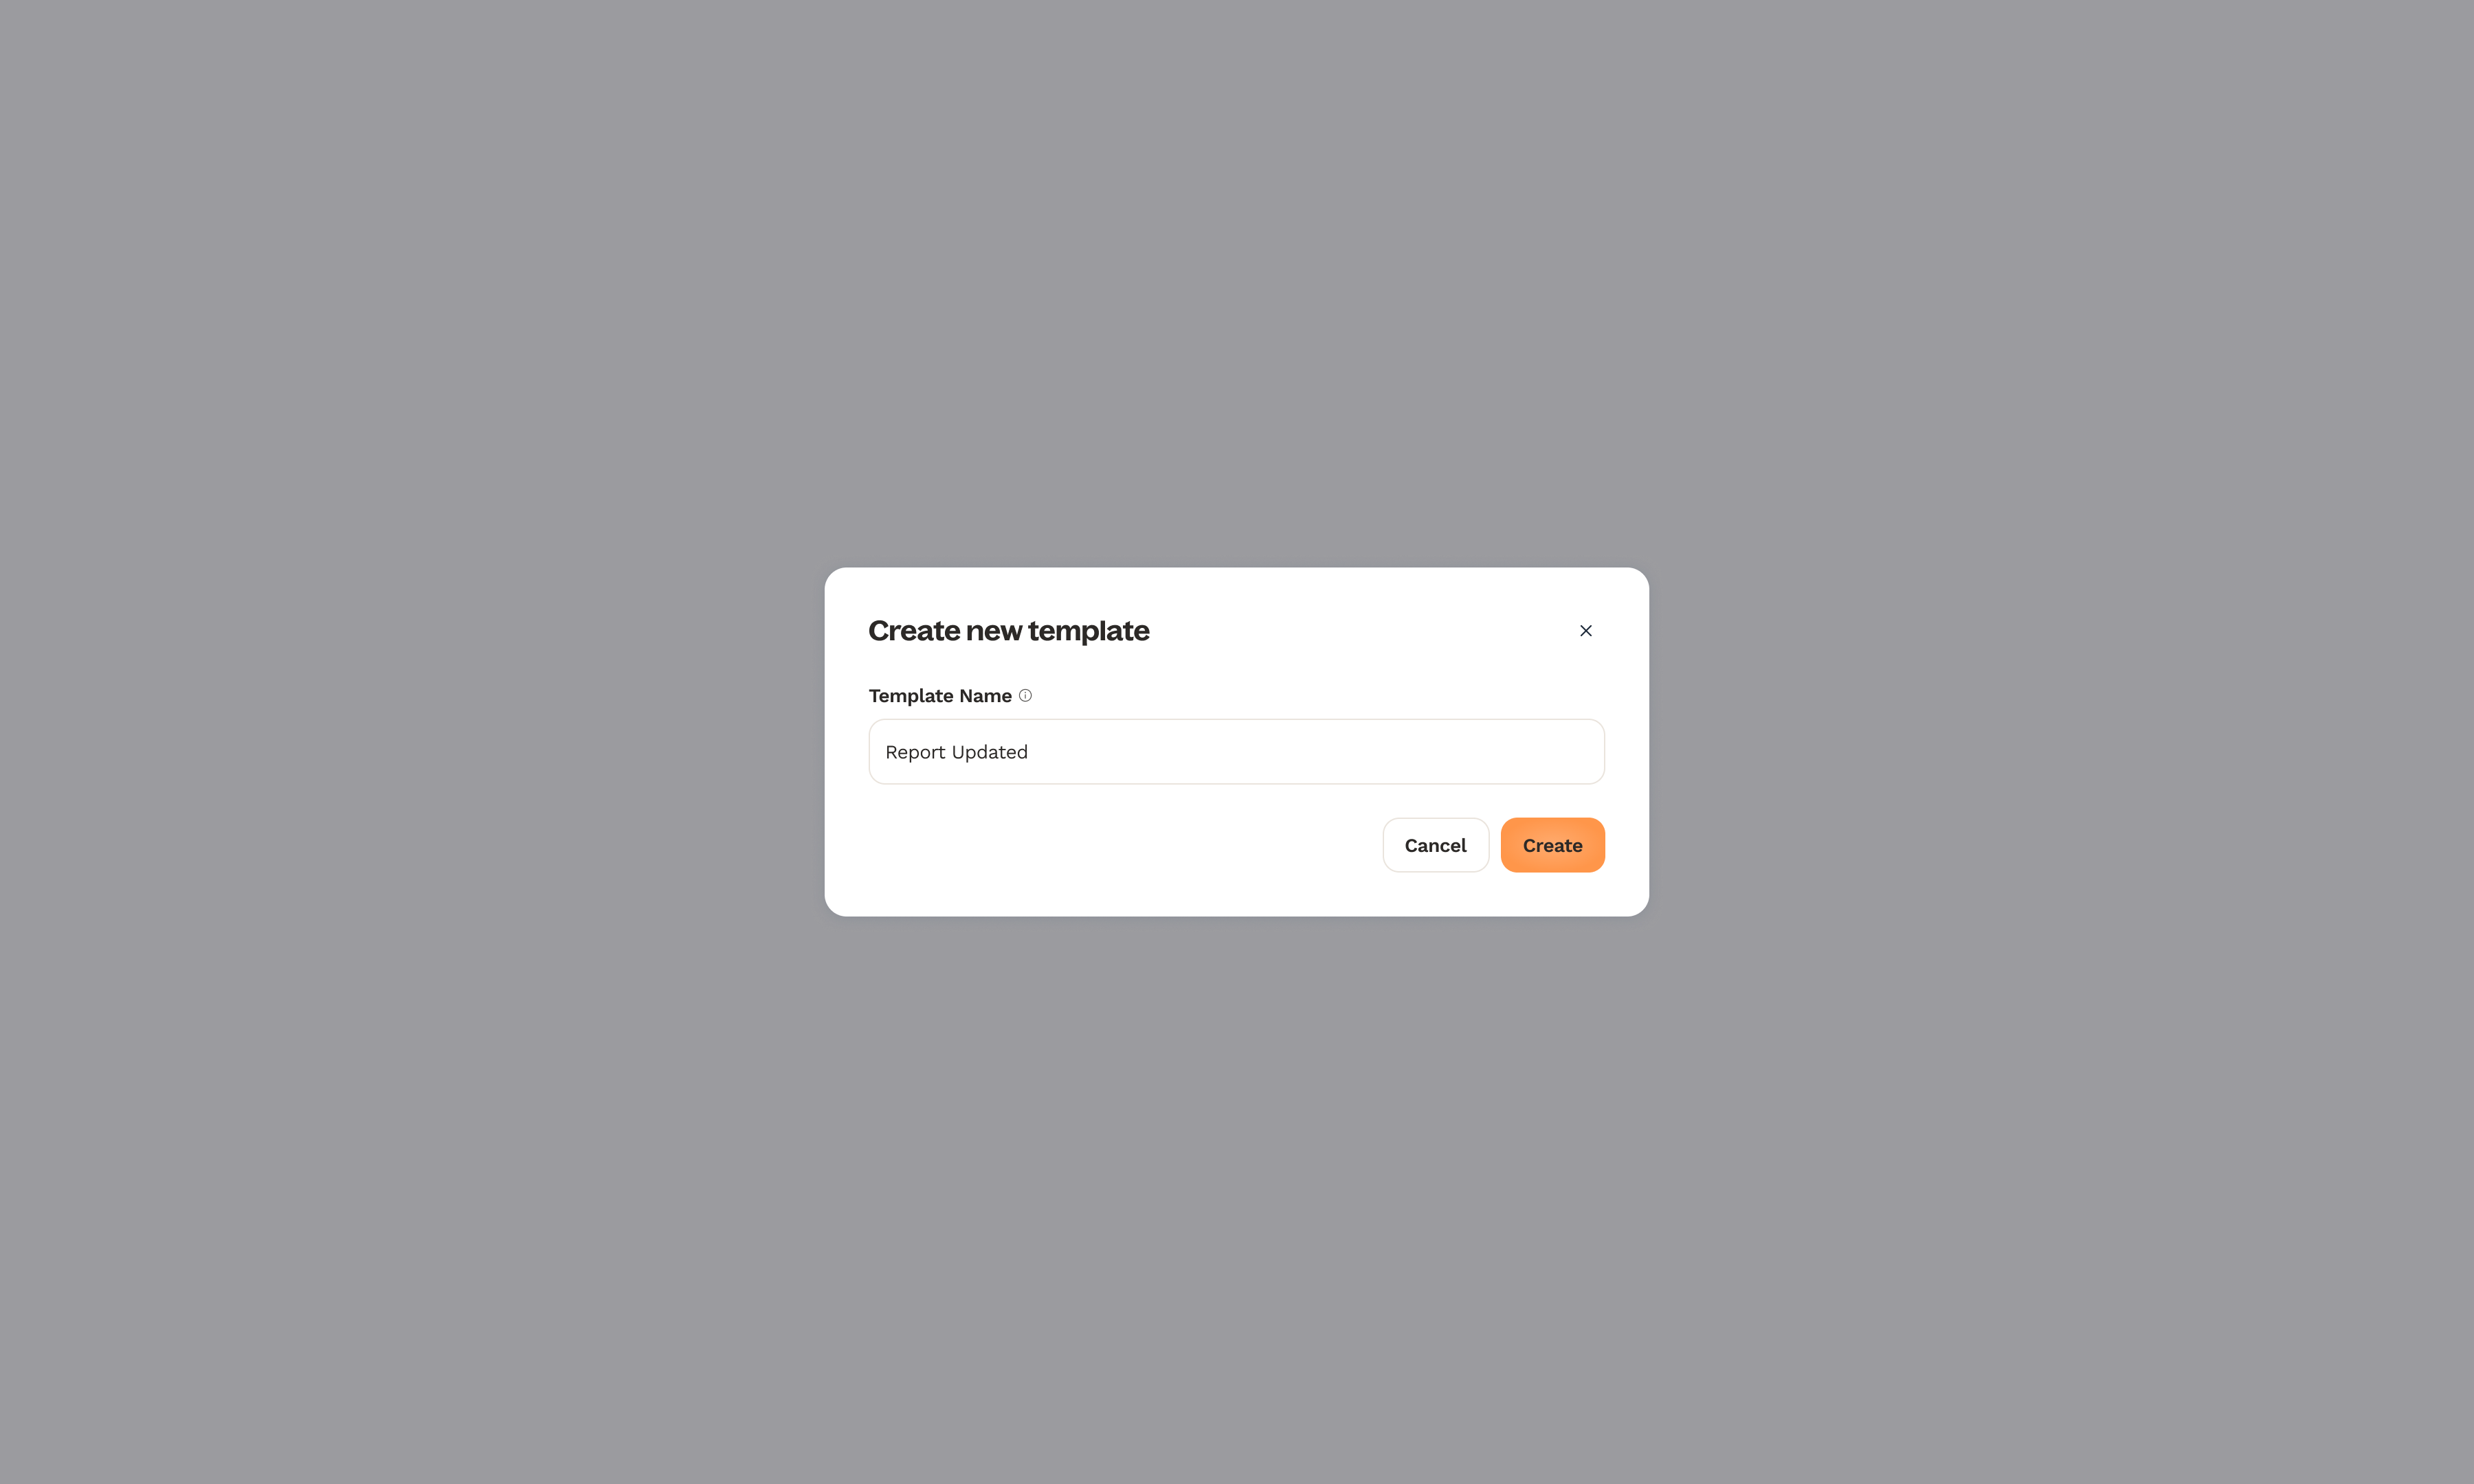
- Enter a name for your template and then click Create.
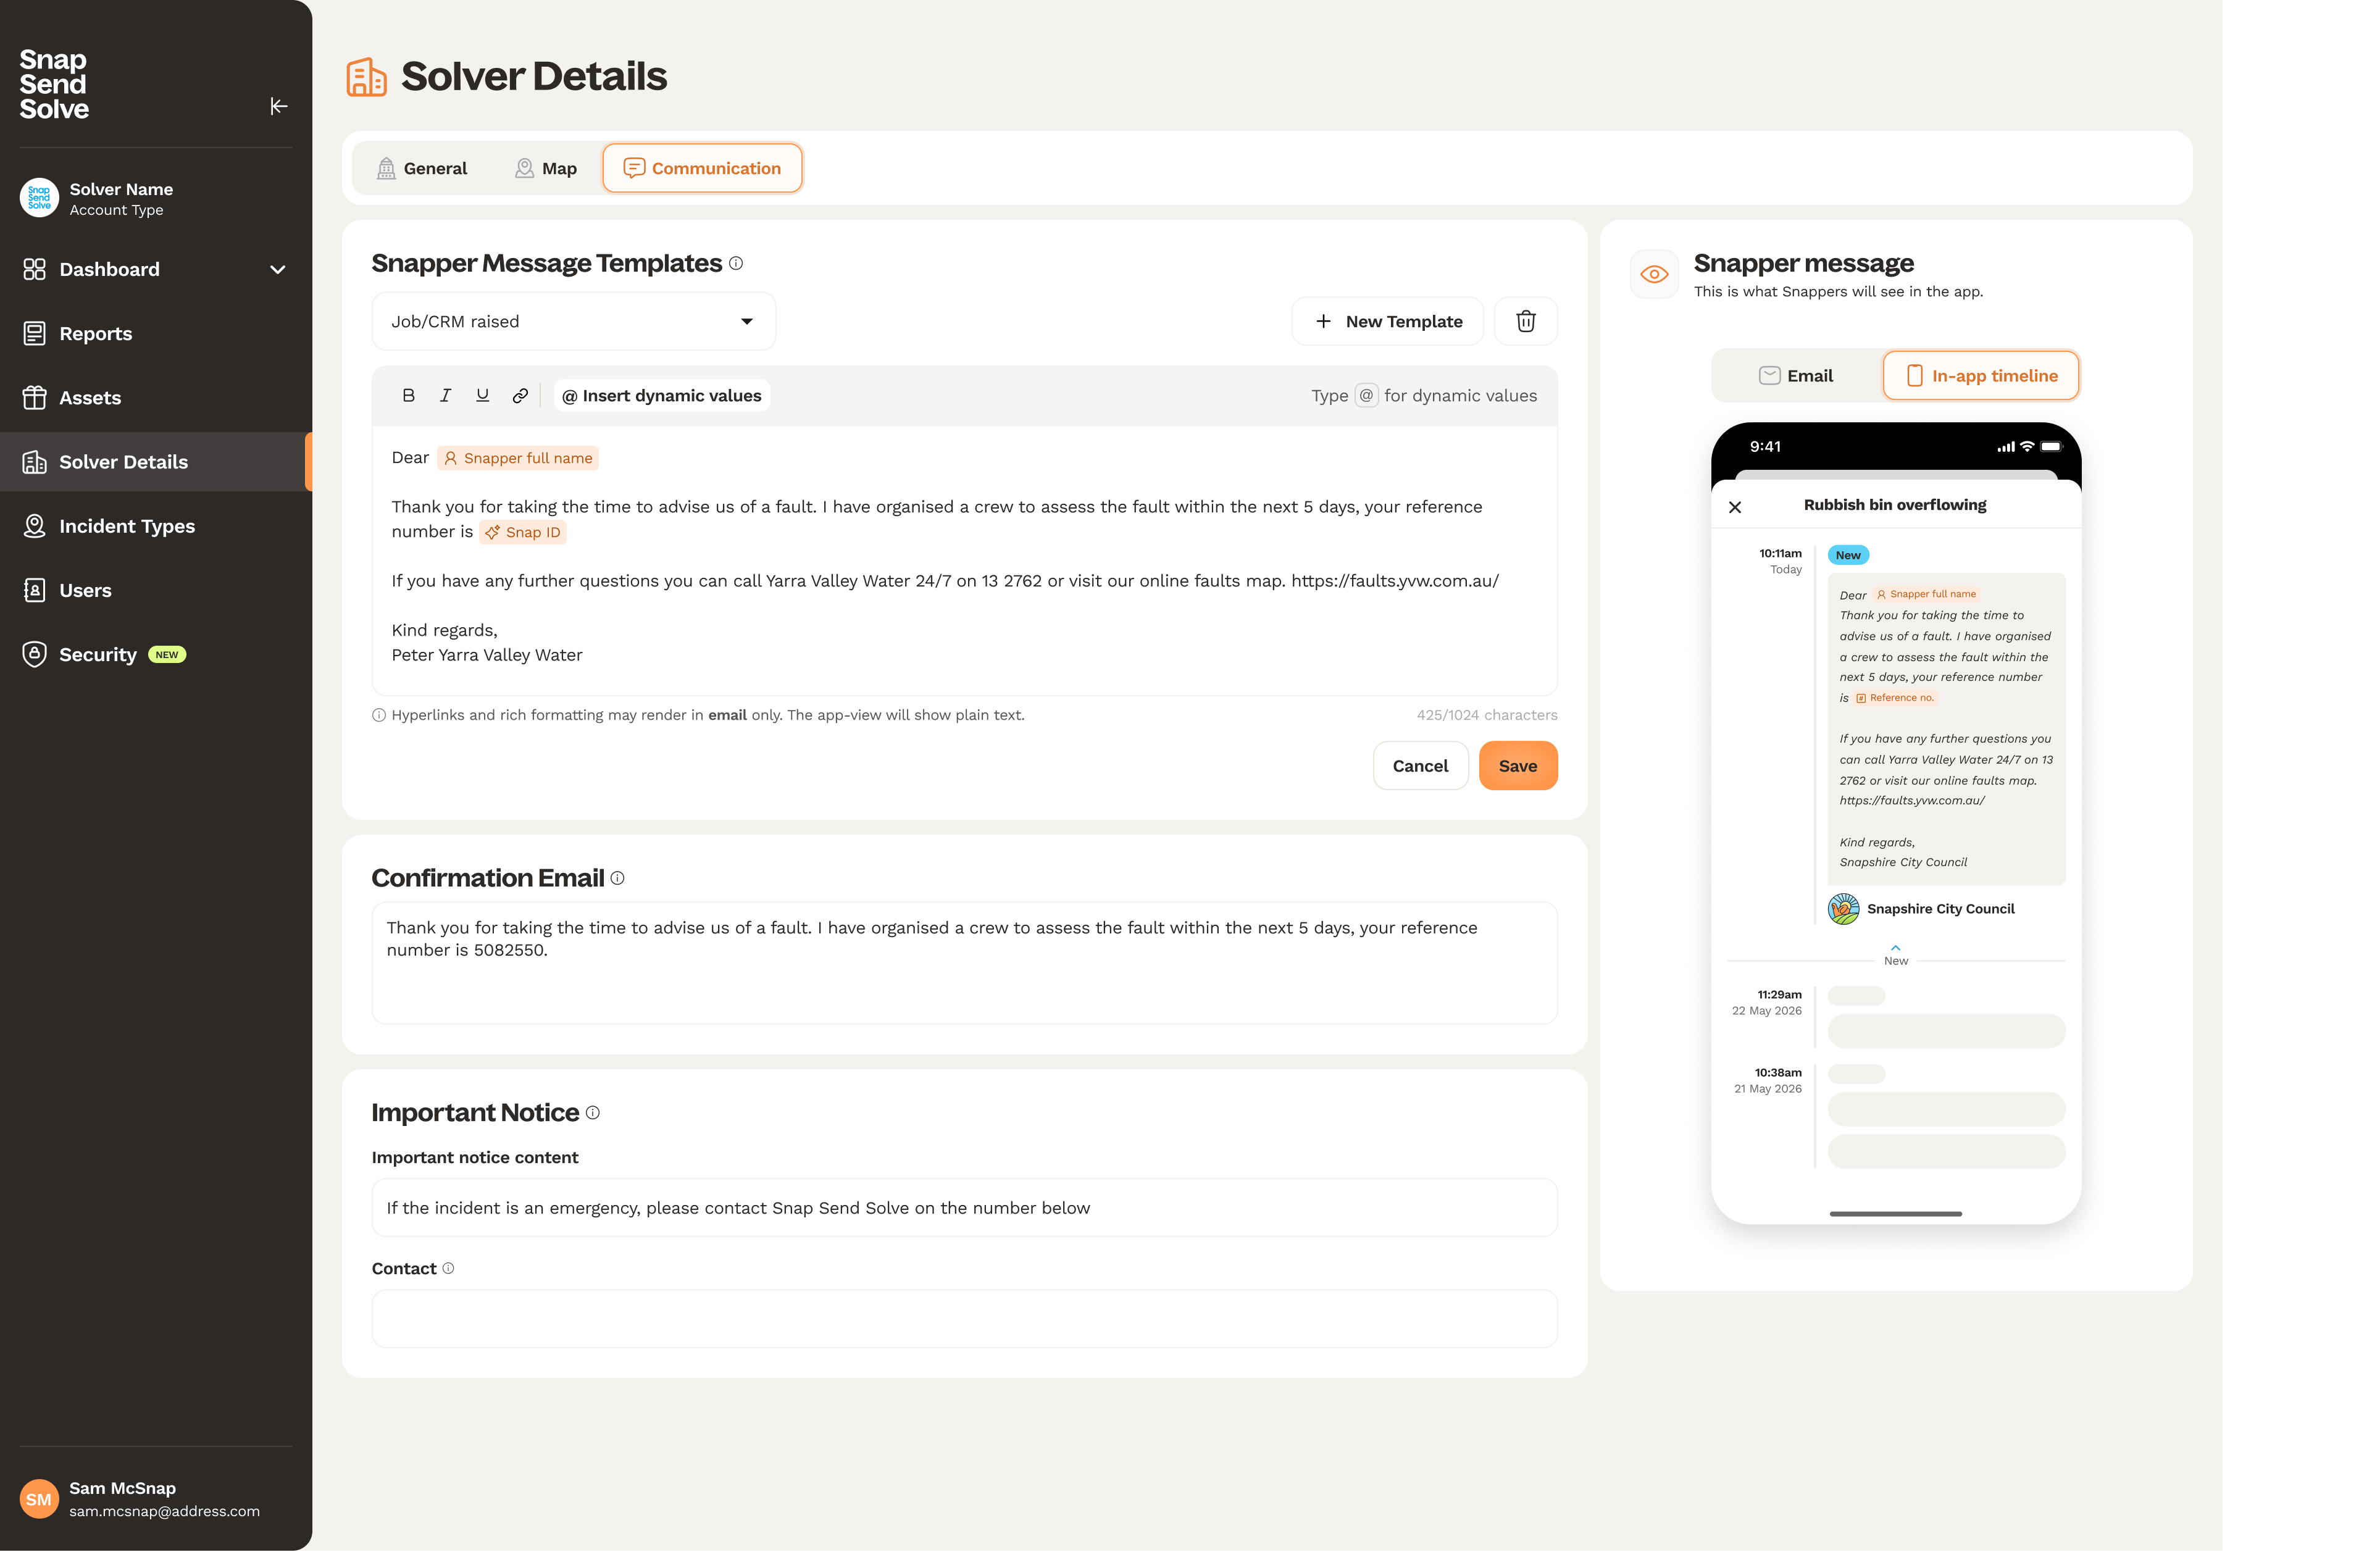
- Write your message in the editor.
- Click Save.
To edit a template later, choose it from the template dropdown.
Formatting your message
Use the toolbar at the top of the editor to make text bold, italic, underlined or to add a link.
Adding links
- Select the text you want to link or place your cursor where the link should go.
- Click the link icon in the toolbar.
- In the Insert link window, enter the Display text and the URL.
- Click Insert link.
Inserting dynamic values
Dynamic values fill in details from each report automatically, so every message feels personal.
- Type @ in the editor or click Insert dynamic values in the toolbar.
- Choose a value: Snap ID, Snapper full name, Reference no. or Incident type name.
The value appears as a coloured chip in your message.
Previewing your template
The Snapper message panel on the right shows what Snappers will see. Switch between the Email and In-app timeline views to check both.
Using templates in reports
The same editor is available when you message a Snapper from a report. In the Messaging section of a report, select a template, edit it if you need to, then send.
If you switch tabs or leave the page with unsaved changes, a message asks whether to Discard or Save.
Summary
You can now build a library of templates with formatting, links and dynamic values and use them to reply to Snappers quickly. Next, learn how to Set Up Your Confirmation Email.